A roof installation project determines how well a building withstands weather exposure, structural stress, and long-term wear. Property owners who follow a structured installation process experience fewer repairs, stronger protection, and improved property value. Professional contractors such as Bruno Roofing & Siding focus on precise planning, material selection, and execution to achieve consistent results. Each stage of the installation process plays a direct role in preventing leaks, insulation loss, and premature damage. A methodical approach ensures that the roof performs reliably while meeting safety standards and aesthetic expectations.
Roof Inspection and Site Preparation
A thorough inspection sets the foundation for a successful roof installation by identifying structural concerns and planning corrective action. Existing roofing layers, decking condition, ventilation paths, and load-bearing components require evaluation to confirm readiness for new materials. Site preparation involves securing the workspace, arranging tools, and protecting surrounding property areas to maintain safety and efficiency.
- Roof deck condition assessment and structural stability review
- Accurate roof measurements and slope verification
- Identification of moisture damage or weakened sections
- Jobsite safety setup and debris clearance
Selecting Suitable Roofing Materials
Material selection directly affects roof durability, maintenance needs, and energy performance. Climate conditions, architectural style, and budget constraints influence the choice between asphalt shingles, metal panels, tile systems, or slate roofing. High-quality materials improve resistance against wind, moisture, and temperature fluctuations while supporting long service life.
- Evaluation of material lifespan and warranty coverage
- Consideration of insulation and energy efficiency properties
- Compatibility with local construction requirements
- Visual consistency with the building design
Installing the Roof Underlayment
Underlayment acts as a protective barrier between roofing materials and the deck, reducing moisture penetration and weather damage. Proper placement ensures uniform coverage and secure attachment to prevent shifting. Overlapping sections correctly creates an added layer of protection against water intrusion. Precision during this step minimizes the risk of leaks and strengthens the overall roofing system.
Applying the Primary Roofing System
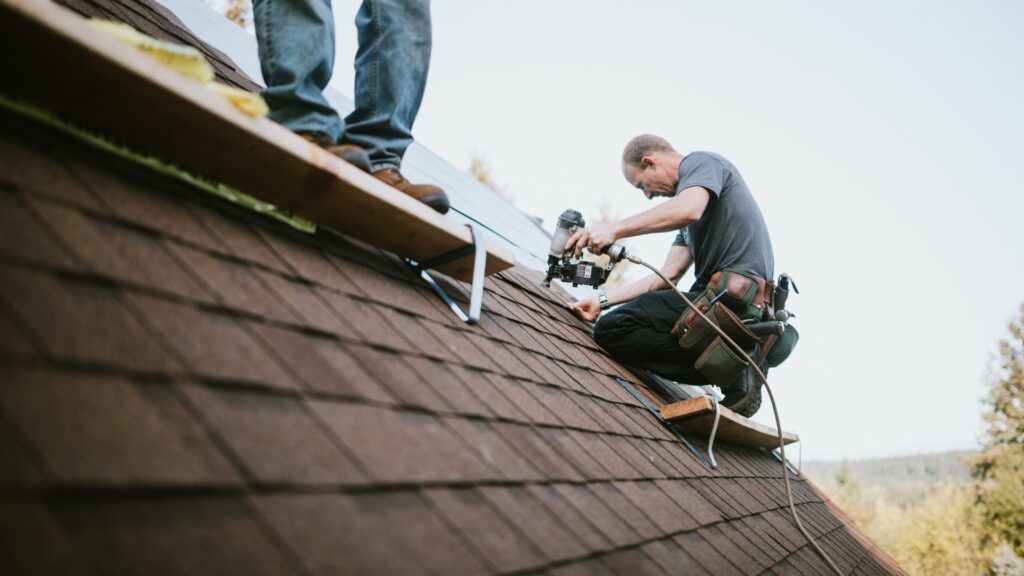
The main installation phase requires accurate alignment, fastening, and spacing of roofing materials to maintain structural balance and weather resistance. Shingles, panels, or tiles must follow manufacturer specifications to avoid performance issues. Consistent installation patterns improve load distribution and visual uniformity. Ventilation components integrated during this phase support airflow, temperature regulation, and moisture control throughout the structure.
Flashing and Waterproof Sealing
Flashing installation safeguards vulnerable roof areas such as chimneys, vents, skylights, and valleys. Proper sealing techniques create watertight transitions between roofing surfaces and structural elements. High-quality sealants and precise placement prevent water infiltration that could compromise interior spaces. Attention to detail during flashing installation significantly reduces long-term maintenance concerns.
Ridge Caps and Drainage Components
Ridge caps secure the roof’s highest points while completing its finished appearance. Correct installation improves wind resistance and protects seams from exposure. Gutters and downspouts guide rainwater away from the structure, reducing foundation stress and exterior damage. Proper alignment ensures efficient water flow and prevents overflow issues during heavy rainfall.
Final Inspection and Quality Verification
A comprehensive inspection confirms that all roofing components function as intended. Fasteners, seals, and material alignment receive close review to identify potential issues. Clean-up procedures remove debris and protect surrounding areas. Documentation of completed work provides clarity on warranties and future maintenance expectations.
Ongoing Roof Maintenance Practices
Routine maintenance extends roof lifespan and preserves performance standards. Scheduled inspections detect early signs of wear, allowing timely repairs. Cleaning debris from drainage systems supports proper water flow and prevents structural strain. Professional evaluations help maintain compliance with safety and performance standards over time.
Conclusion
Successful roof installation relies on structured planning, material quality, and skilled execution. Each step contributes to structural integrity, weather resistance, and visual appeal. From inspection to maintenance, a disciplined process reduces long-term costs and repair risks. Property owners who prioritize professional installation practices achieve reliable roofing systems that deliver lasting protection and value.
FAQs
What is the most important step in roof installation?
Roof inspection and preparation provide the foundation for all installation activities, ensuring structural readiness and preventing future complications.
How long does a professional roof installation take?
Project duration depends on roof size, material type, and weather conditions, though most residential installations complete within several days.
Why is underlayment necessary for roofing systems?
Underlayment adds a protective moisture barrier that reduces leak risks and supports long-term roof performance.
How often should a newly installed roof be inspected?
Annual inspections help maintain roof condition, identify early damage, and support warranty compliance.