A clogged dryer vent can pose serious risks, including reduced efficiency, increased energy consumption, and potential fire hazards. When a dryer vent exits through the roof, it requires extra attention and the right tools to ensure proper maintenance. Neglecting this essential task can lead to lint buildup, which obstructs airflow and creates dangerous conditions. To protect your home, enhance appliance performance, and reduce safety risks, it is crucial to follow the correct steps for cleaning dryer vent on roof.
Why Cleaning Your Dryer Vent is Important
Over time, lint and debris build up inside your dryer vent, restricting airflow. This can lead to:
- Longer drying times
- Increased energy bills
- Overheating and potential fire hazards
- Mold growth due to trapped moisture
Regularly cleaning your vent improves efficiency, enhances safety, and extends the life of your dryer. The U.S. Fire Administration reports that failure to clean dryer vents is one of the leading causes of home fires, making maintenance a crucial step in home safety.
Signs Your Dryer Vent Needs Cleaning
If you’re unsure whether your dryer vent needs cleaning, watch for these warning signs:
- Clothes take longer to dry than usual
- A burning smell when the dryer is running
- Excessive heat in the laundry area
- Lint buildup around the dryer or vent exit
- The dryer automatically shuts off due to overheating
If you notice any of these signs, it’s time to inspect and clean your vent.
Tools You’ll Need
Before you begin, gather the following tools to ensure a thorough and safe cleaning process:
- A ladder (safely secured)
- A dryer vent cleaning brush or kit
- A cordless drill (for drill-powered cleaning kits)
- A vacuum with a hose attachment
- A screwdriver (if removing the vent cover)
- Safety gear (gloves, goggles, and a dust mask)
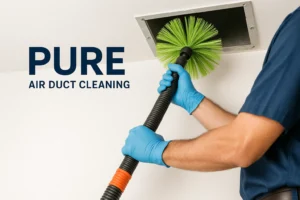
Step-by-Step Cleaning Process
- Turn Off the Dryer – Unplug the dryer or turn off the gas supply before starting to ensure safety.
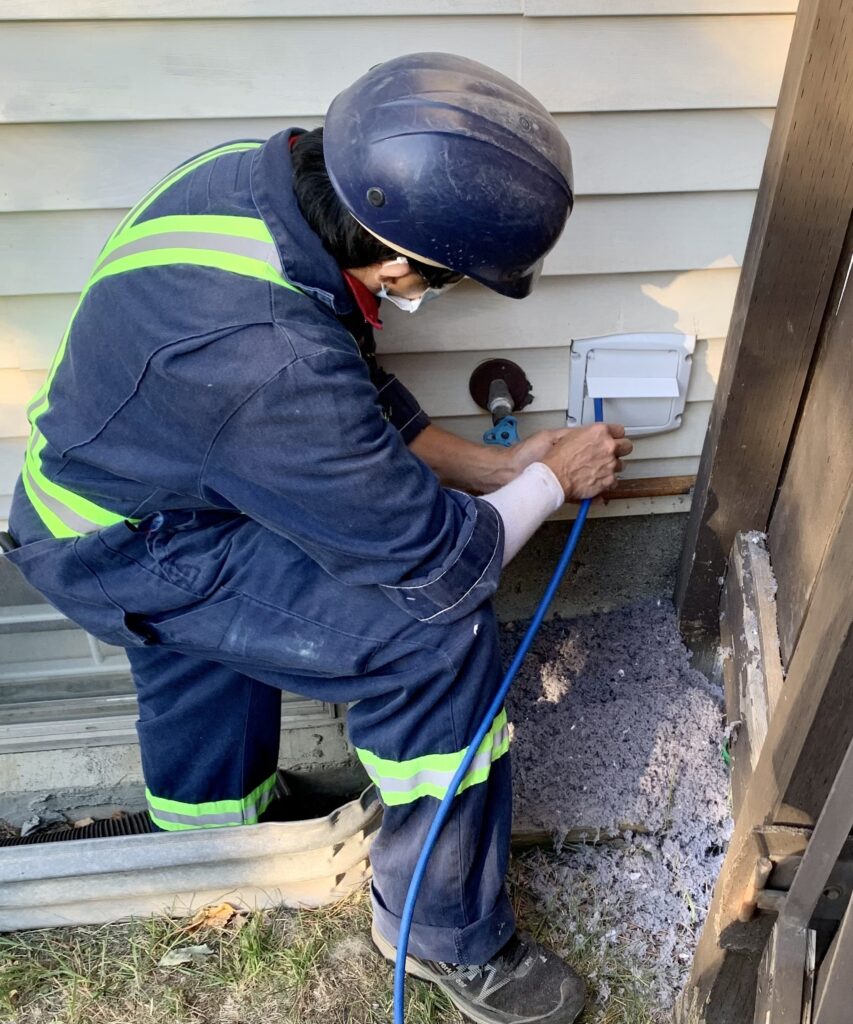
- Access the Roof – Use a stable ladder and take necessary safety precautions, such as wearing a harness if needed. If your roof is steep, consider hiring a professional to prevent accidents.
- Remove the Vent Cap – Carefully detach the vent cover using a screwdriver. Check for visible blockages like lint or bird nests, as roof vents are sometimes used by animals for shelter.
- Brush and Vacuum the Vent – Insert a dryer vent brush or drill-powered cleaning tool to break up and remove lint buildup. Use a vacuum with a hose attachment to suck out loosened debris for a deeper clean.
- Clean the Vent Cover – Remove any lint or debris from the vent cap and ensure the flap moves freely. A clogged or stuck vent cover can restrict airflow and lead to overheating issues.
- Reassemble and Test – Reattach the vent cover securely. Go back inside and run the dryer on an air-fluff or no-heat setting to push out any remaining debris. Check the airflow outside to ensure it is strong and unobstructed.
How Often Should You Clean Your Roof Dryer Vent?
For most households, cleaning the vent every 6 to 12 months is recommended. However, the frequency may vary depending on factors such as:
- The length of the dryer vent duct
- The number of loads dried each week
- Whether you have pets (pet hair can clog vents faster)
- The presence of bends or restrictions in the duct system
If you dry clothes frequently, have a long vent run, or notice warning signs, consider more frequent cleanings.
Safety Tips
Cleaning a dryer vent on the roof can be dangerous, so keep these safety tips in mind:
- Never use excessive force when cleaning to avoid damaging the vent.
- Avoid cleaning on a windy or rainy day to prevent accidents.
- Always secure your ladder and wear appropriate safety gear.
- If you are uncomfortable with heights, consider hiring a professional dryer vent cleaning service.
- Regularly check for animal nests, as birds and small animals often build nests in roof vents, leading to blockages.
Benefits of Regular Dryer Vent Maintenance
By maintaining a clean dryer vent, you can enjoy several benefits, including:
- Improved efficiency – Your dryer will run more efficiently, saving time and energy.
- Lower utility bills – A clean vent allows for proper airflow, reducing drying time and electricity usage.
- Extended appliance lifespan – Less strain on the dryer’s motor helps prolong its life.
- Enhanced fire safety – Removing lint buildup minimizes fire risks.
Final Thoughts
Maintaining a clean dryer vent is crucial for safety and efficiency. By following these steps, you can reduce fire risks, improve drying performance, and extend the lifespan of your dryer. If roof access or the cleaning process seems too challenging, don’t hesitate to call a professional to get the job done safely.
Read More : Dry Vent Cleaning