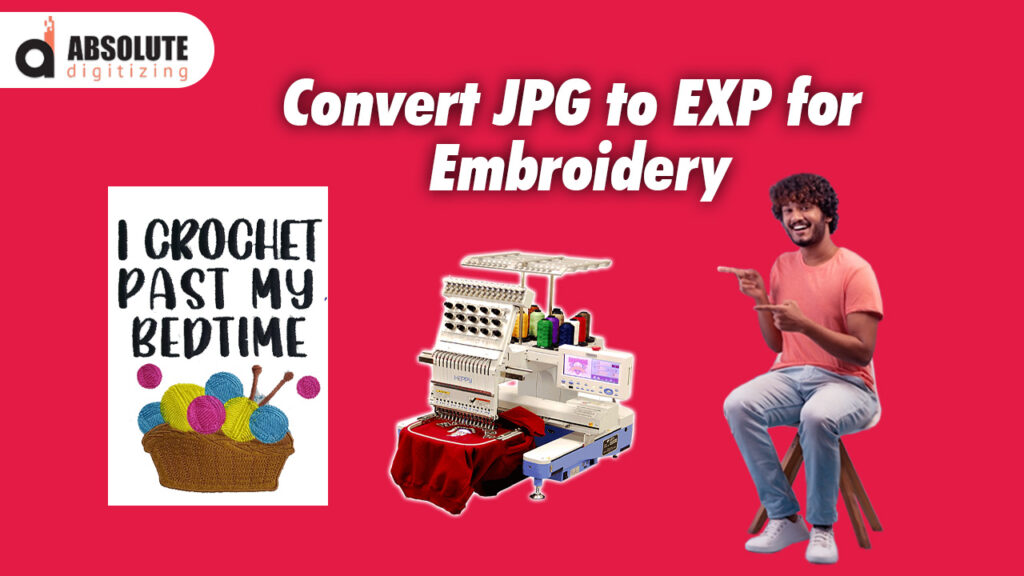
So, you’ve got a killer design in JPG format, and you’re itching to see it come to life on your embroidery machine. But there’s a catch—your machine speaks a different language, one called EXP. Don’t worry; JPG to EXP Conversion isn’t as daunting as it sounds. Let’s dive into the world of embroidery digitizing and make this process a breeze.
Understanding the Basics
What is an EXP File?
An EXP file is a specialized embroidery file format used by machines like Melco and Bernina. Unlike standard image files, EXP files contain detailed instructions for your embroidery machine, including stitch types, colors, and paths. Think of it as a blueprint that guides your machine to recreate your design accurately.
Why Can’t I Just Use a JPG?
JPGs are great for viewing images on your computer or phone, but embroidery machines need more than just a picture. They require specific data to know how to stitch the design. That’s where the conversion from JPG to EXP comes in.
The JPG to EXP Conversion Process
Step 1: Choose the Right Software
To convert a JPG to EXP file, you’ll need embroidery digitizing software. Some popular options include:
- Wilcom Embroidery Studio: A professional-grade software with extensive features.
- Embird: User-friendly and suitable for both beginners and professionals.
- SewArt: An affordable option with automatic digitizing capabilities.
- Ink/Stitch: A free, open-source plugin for Inkscape.
Step 2: Prepare Your Image
Before importing your JPG into the software, ensure it’s clean and clear. Remove any unnecessary background elements and adjust the contrast to make the design stand out. Simpler images with fewer colors are easier to digitize.
Step 3: Import and Digitize
Open your chosen software and import the JPG file. Use the software’s tools to trace the design and assign stitch types and colors. Some software offers automatic digitizing, but manual adjustments often yield better results.
Step 4: Save as EXP
Once you’re satisfied with the digitized design, save the file in the EXP format. This file is now ready to be loaded into your embroidery machine.
Tips for a Successful Conversion
Keep It Simple
Complex designs with intricate details can be challenging to digitize, especially for beginners. Start with simple designs and gradually move to more complex ones as you gain experience.
Test Your Design
Before stitching on your final fabric, do a test run on a scrap piece. This allows you to identify and fix any issues without ruining your main project.
Seek Professional Help if Needed
If you’re struggling with the conversion process, consider using professional digitizing services like Absolute Digitizing. They can convert your JPG to EXP accurately, saving you time and ensuring quality results.
Common Challenges and Solutions
Issue: Jagged Edges in the Design
Solution: Ensure your original JPG is high-resolution. Low-quality images can result in poor digitization.
Issue: Incorrect Stitch Types
Solution: Familiarize yourself with different stitch types and their appropriate uses. Manual adjustments in the software can help correct this.
Issue: Misaligned Colors
Solution: Double-check the color assignments in your software and ensure they match your intended design.
Conclusion
Converting a JPG to EXP file may seem complex at first, but with the right tools and a bit of practice, it becomes manageable. Start with simple designs, use reliable software, and don’t hesitate to seek professional assistance when needed. With time and experience, you’ll be creating stunning embroidered pieces from your digital designs in no time.