Living in Bellflower and relying on a pellet stove for warmth can feel like having a cozy campfire right in your living room. But when that steady, comforting heat suddenly sputters out or the stove starts acting up, panic can set in pretty quick—especially on a chilly evening. If you’re curious about what goes into pellet stove repair or want to know which tools are essential for the job, you’re in the right spot. Let’s break it all down in simple terms, so you’ll know what to expect the next time you—or a local pro—handle pellet stove repair in your home.
“A warm home is built not just with bricks, but with the hands that care for every detail beneath the surface.”
Getting to Know Your Pellet Stove: The Basics Before the Toolbox
Before you even think about grabbing a wrench, it’s good to get familiar with the parts inside your pellet stove. Most models have a hopper (where you pour the pellets), an auger (which feeds the pellets into the burn pot), a combustion fan, an exhaust blower, and some sensors. When any of these start misbehaving, your cozy evenings can quickly turn into troubleshooting marathons.
Sometimes the problem is as simple as a clogged vent or a build-up of ash. Other times, it’s an electrical hiccup or a worn-out part. That’s where the right tools come in handy—they help you poke, prod, clean, and swap out whatever’s causing the trouble.
The Essential Toolkit for Pellet Stove Repair
Think of pellet stove repair like working on a bike or car. You don’t need an entire garage full of gadgets, but a few reliable tools can make all the difference. Here’s a handy table showing what tools you’ll likely see in action during a pellet stove repair in Bellflower:
| Tool | What It’s Used For | Why It Matters |
|---|---|---|
| Vacuum (Ash or Shop Vac) | Clearing out ash, dust, and debris from inside the stove. | Prevents blockages and keeps air flowing smoothly. |
| Screwdrivers (Flat & Phillips) | Opening access panels, removing parts and covers. | Lets you reach and replace components easily. |
| Pliers (Needle-nose & Standard) | Gripping, bending wires, and pulling out stubborn bits. | Great for tight spots and delicate adjustments. |
| Multimeter | Testing electrical circuits, fuses, and sensors. | Crucial for finding electrical faults. |
| Wire Brush | Scraping away soot and residue from burn pots and sensors. | Keeps parts clean for better performance. |
| Lubricant (High Temp) | Oiling moving parts like auger motors. | Reduces friction and extends parts’ lifespans. |
| Socket Set | Removing nuts and bolts on motors and fans. | Makes disassembly and reassembly much easier. |
| Flashlight or Headlamp | Lighting up the stove’s dark corners and hidden spaces. | Helps you spot problems you might otherwise miss. |
| Sealant (High Temp) | Sealing up leaks in exhaust pipes or gaskets. | Prevents smoke leaks and improves safety. |
Why the Right Tools Matter for Pellet Stove Repair
Having the right equipment can turn a frustrating repair into a straightforward project. Imagine trying to scoop out tiny bits of ash with your hands—messy and nearly impossible! Or picture yourself trying to test an electrical component without a multimeter; it’d be like searching for a needle in a haystack. Proper tools are essential for effective pellet stove maintenance and help ensure your stove runs safely and efficiently.
When you use the correct tools, you’re not only making the job easier, you’re also keeping yourself safe. For example, using a regular household vacuum for ash cleanup can damage the vacuum or even start a fire. That’s why professionals (and well-prepared DIYers) rely on specialized ash vacuums designed to handle fine, hot particles.
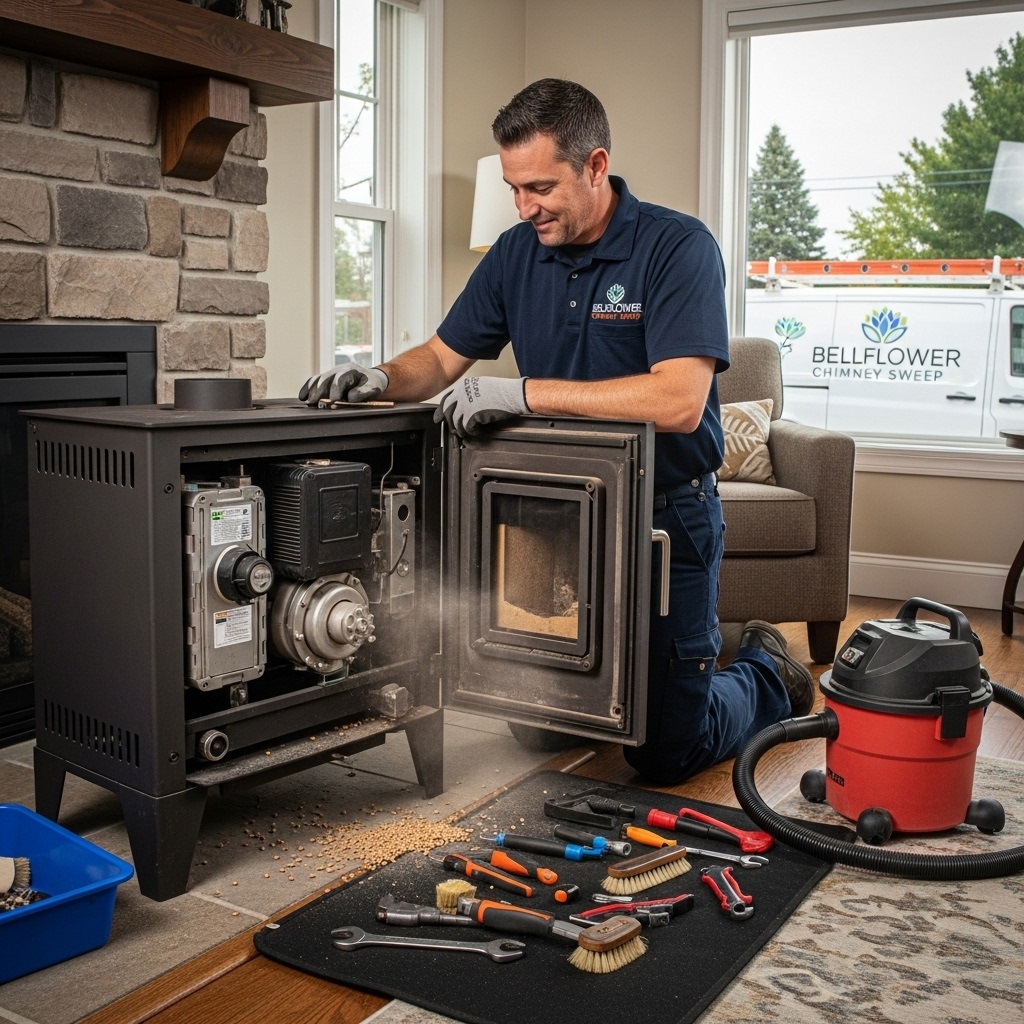
A Quick Guide: Step-by-Step with the Toolkit
Let’s say your pellet stove is acting sluggish or shutting off unexpectedly. Here’s how the tools above come into play in a typical repair session:
- Turn Off and Cool Down: Always start by unplugging the stove and letting it cool. Safety first!
- Open Panels: With your trusty screwdriver, remove the necessary covers to access the inside.
- Clear the Ash: Grab the ash vacuum and clean out the burn pot, ash pan, and any buildup around the fans.
- Inspect and Clean Parts: Use a wire brush to scrub away stubborn soot from the burn pot, sensors, and auger.
- Check Electrical Components: The multimeter helps you figure out if any fuses or switches are blown.
- Replace or Repair: Pliers and a socket set come in handy for removing and replacing motors, fans, or augers if needed.
- Seal and Test: Use high-temp sealant where needed, put everything back together, and test the stove to make sure it’s humming along.
Each of these steps relies heavily on using the right tool for the job. The better equipped you are, the faster (and safer) your repair will be.
What to Watch Out For: Common Hiccups
Not every pellet stove repair goes smoothly, and sometimes you’ll run into stubborn bolts, hidden clogs, or electrical gremlins that require a bit of patience. If you ever feel out of your depth—especially when electric parts are involved—it’s smart to call in a pro who knows pellet stoves inside and out.
In Bellflower, some repair services even offer emergency help, so you’re not left shivering on those rare but chilly California nights.
Key Features
Pellet stove repair in Bellflower centers on a blend of practical tools and local know-how. The essential features include specialized vacuums for safe ash removal, a reliable set of hand tools, and diagnostic gadgets like multimeters. Local repair pros also bring knowledge of models popular in the area, making repairs more efficient and tailored to your stove’s quirks.
Safety
Safety is at the heart of every repair. Always unplug your stove and let it cool before starting any work. Using the right tools—especially those rated for high temperatures—prevents accidents. Never substitute household vacuums or tools, as they may not stand up to the unique risks of pellet stove maintenance. When in doubt, get a professional’s help to avoid electrical or fire hazards.
Cost
The price tag for pellet stove repair can vary. If you already have some tools, a simple clean-out might only cost you time and a few bucks for replacement parts. Calling a specialist in Bellflower usually starts at a modest service fee, but can rise if major components need swapping. Investing in quality tools can save you money in the long run by letting you handle smaller fixes yourself.
Emergency Service
When your stove breaks down unexpectedly, some Bellflower repair teams offer emergency visits—even on weekends or late nights. These services come at a premium, but they can be a lifesaver when the temperature drops. Keep the number of a trusted local repair pro on hand, especially during the colder months when your pellet stove is working overtime.
Wrapping Up
Whether you’re a hands-on homeowner or just want to understand what your local repair tech is doing, knowing the tools for pellet stove repair gives you confidence and peace of mind. With a little preparation—and perhaps the help of a seasoned Bellflower pro—your pellet stove will keep your home warm and inviting all season long.
Read More: Bellflower Chimney Sweep