Installing 250 MCM wire lugs is a crucial task in high-power electrical installations, requiring precision, adherence to safety guidelines, and a solid understanding of the tools and materials involved. Improper installation can lead to overheating, arcing, and even electrical fires. This guide outlines the step-by-step process and best practices for safely and efficiently installing 250 MCM wire lugs.
What Are 250 MCM Wire Lugs?
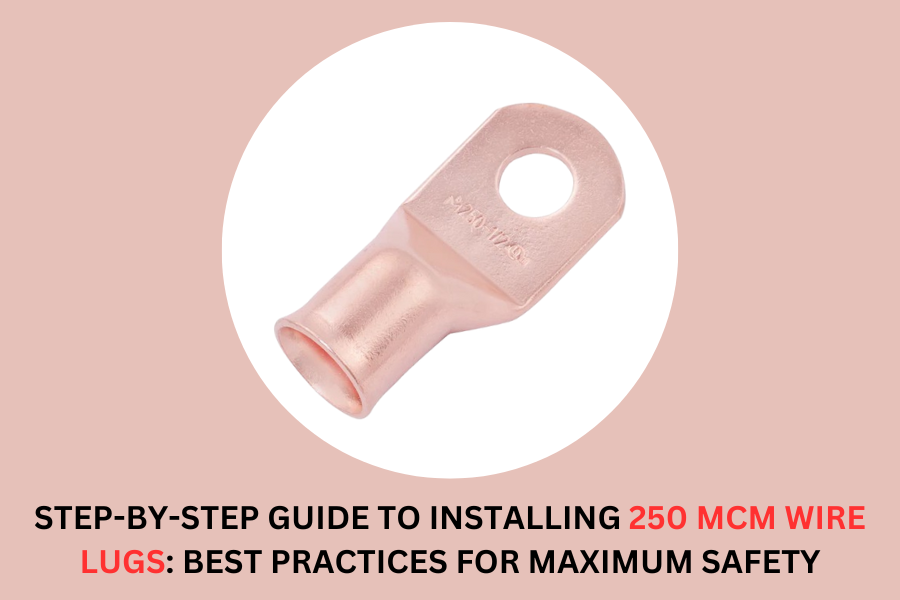
Wire lugs are essential components in electrical systems, providing a secure and reliable connection between heavy-gauge wires and terminals. The term “250 MCM” refers to the American Wire Gauge (AWG) size, where MCM indicates a thousand circular mils. A 250 MCM wire is commonly used in industrial and commercial applications, capable of handling high currents.
Tools and Materials You Will Need
Before starting, gather the following tools and materials:
- 250 MCM lugs (appropriate for your application and conductor material: copper or aluminum).
- 250 MCM wire (copper or aluminum, as specified).
- Hydraulic or mechanical crimping tool (compatible with 250 MCM lugs).
- Wire stripper (designed for large-gauge wires).
- Heat shrink tubing (for insulation and sealing).
- Heat gun (to apply the heat shrink tubing).
- Torque wrench (to ensure proper tightening of lug bolts).
- Personal protective equipment (PPE) (safety gloves, goggles, and insulated tools).
Step-by-Step Installation Guide
1. Safety First
- Disconnect power from the electrical circuit where the wire lugs will be installed.
- Verify that the circuit is de-energized using a multimeter or voltage tester.
- Wear appropriate PPE to protect yourself from potential hazards.
2. Prepare the Wire
- Measure the length of wire needed for the connection, leaving extra length for adjustments.
- Use a wire stripper designed for 250 MCM cables to remove the insulation from the wire end. Strip approximately 1 inch of insulation, ensuring no damage to the conductor strands.
3. Select the Appropriate Lug
- Choose a lug designed for 250 MCM wire and compatible with the conductor material (copper or aluminum).
- Check the manufacturer’s specifications to ensure compatibility with your application.
4. Insert the Wire into the Lug
- Align the stripped wire end with the lug barrel.
- Insert the conductor into the barrel fully until no strands are exposed outside the lug.
- If using aluminum wire, apply an anti-oxidation compound to the conductor strands to prevent corrosion.
5. Crimp the Lug
- Select the correct crimping die for 250 MCM lugs. Refer to the tool and lug manufacturer’s crimping chart for guidance.
- Position the lug in the crimping tool’s die set.
- Apply firm, even pressure to create a secure connection. For hydraulic crimpers, follow the tool’s instructions for proper operation.
- Perform a pull test to ensure the wire is securely crimped to the lug.
6. Insulate and Protect the Connection
- Slide heat shrink tubing over the lug and wire connection.
- Use a heat gun to shrink the tubing, ensuring a snug fit around the connection.
- This step provides additional insulation and protects the joint from moisture and contaminants.
7. Install the Lug on the Terminal
- Align the lug’s hole with the terminal bolt.
- Tighten the bolt using a torque wrench, adhering to the manufacturer’s specified torque value. Over-tightening or under-tightening can compromise the connection.
8. Double-Check the Installation
- Inspect the connection for any visible gaps, loose strands, or improper insulation.
- Ensure all connections are secure and free from defects.
- Confirm the connection’s integrity by conducting a continuity test.
9. Restore Power and Test the System
- Once all connections are verified, restore power to the circuit.
- Monitor the system for any abnormal behavior, such as overheating or unusual sounds, during initial operation.
Best Practices for Maximum Safety
- Use the Right Tools: Always use tools rated for 250 MCM wire and follow manufacturer guidelines for lugs and crimping tools.
- Check for Compatibility: Ensure all components (wire, lugs, terminals) are compatible in terms of material and current-carrying capacity.
- Follow Local Codes: Adhere to local electrical codes and regulations to ensure a safe and compliant installation.
- Inspect Regularly: Periodically inspect the connection for signs of wear, corrosion, or loosening, especially in high-vibration environments.
- Work with a Professional: If you’re unsure about any aspect of the installation, consult a licensed electrician to avoid mistakes.
Common Mistakes to Avoid
- Using the Wrong Lug Size: Ensure the lug matches the wire gauge for a proper connection.
- Improper Crimping: Insufficient or excessive crimping can compromise the connection’s integrity.
- Skipping Torque Specifications: Over-tightening or under-tightening terminal bolts can lead to overheating or loose connections.
- Ignoring Oxidation Prevention: Always apply anti-oxidation compound when working with aluminum conductors.
- Failing to De-Energize the Circuit: Never work on live circuits to prevent electric shock or short circuits.
By following this guide and adhering to best practices, you can ensure a safe, reliable, and efficient installation of 250 MCM lugs. Proper installation not only enhances system performance but also significantly reduces the risk of electrical hazards.