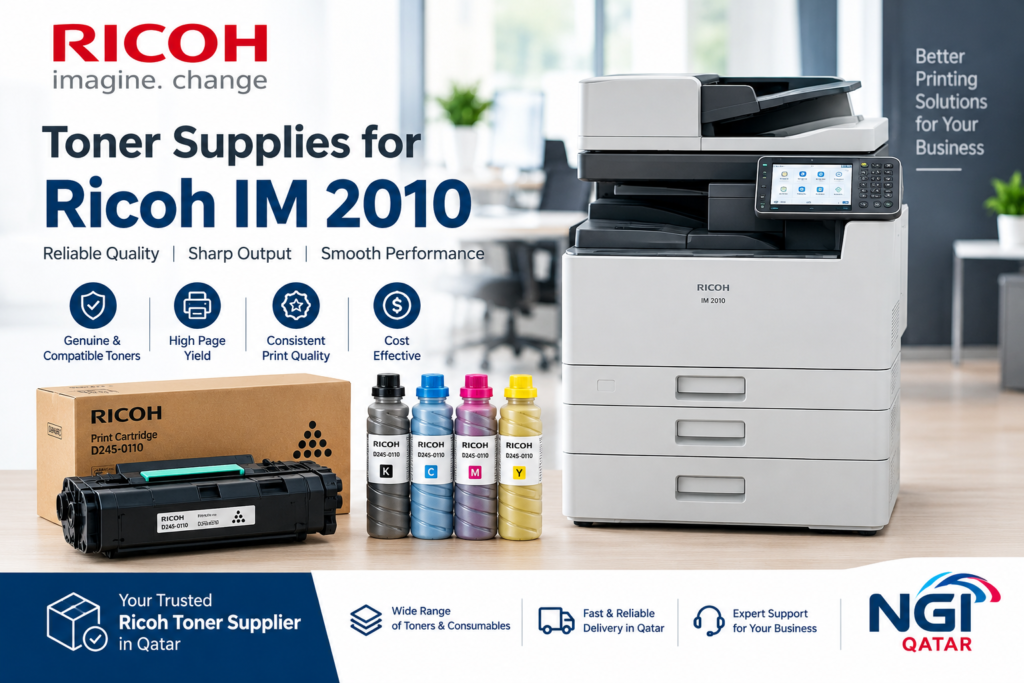
Connecting a multifunction photocopier to your computer or office network makes everyday document management much easier. Instead of transferring files between computers using USB drives or connecting a machine to individual workstations, employees can send print jobs through a shared network. With the correct configuration, businesses can also use supported scanning features to send documents directly to computers or shared folders.
Whether you are setting up a new photocopier or troubleshooting an existing connection, understanding the network configuration process can save time and reduce unnecessary interruptions.
This guide explains how to connect a Ricoh multifunction device to a Windows computer, configure Ethernet or supported wireless networking, install the printer driver, access network settings, and troubleshoot common connection problems.
An important model identification note: Before following any instructions, check the exact model name on your machine. Ricoh has different product families, and the settings, drivers, and available features can vary. In particular, verify whether your machine is labelled IM 2010, IM 3010, or another model. Do not assume that instructions for one model apply to another.
- Understand the Available Connection Methods
Before connecting your photocopier, decide how you want it to communicate with your computer or office network.
Most office multifunction devices support one or more of the following connection methods, depending on their model and installed options.
Ethernet Network Connection
An Ethernet connection uses a network cable to connect the photocopier to a router, network switch, or office network.
It is generally a practical choice for businesses because it offers:
- A stable connection for multiple office computers.
- Consistent communication between the printer and network.
- Convenient shared printing.
- Support for compatible network scanning functions.
- Easier centralised device management.
For offices with several employees, Ethernet is often the preferred option.
Wireless Network Connection
Some Ricoh multifunction devices support wireless networking through an installed wireless LAN option.
This allows the machine to communicate with computers over a compatible Wi-Fi network without requiring a direct Ethernet connection.
However, wireless availability depends on the exact model and installed hardware. Check the product documentation before attempting wireless configuration.
USB Connection
A USB connection allows a compatible computer to communicate directly with the photocopier.
It can be useful for a single workstation, but it is less convenient when several employees need access to the same machine.
For shared office printing, a properly configured network connection is generally more suitable.
- Prepare Your Computer and Photocopier
A successful connection starts with a few basic checks. Before changing any network settings, make sure you have the following:
- A working computer or laptop.
- Access to your office router or network switch.
- A compatible Ethernet cable, if using a wired connection.
- The correct Ricoh printer driver for your operating system and model.
- Administrator access to the computer, if required for driver installation.
- Access to the photocopier’s network settings.
Also check that the photocopier is switched on, displays no major error messages, and has paper loaded.
If the device is already connected to your office network, you may not need to change its network configuration. First check whether it already has an assigned IP address.
- Connect the Ricoh Photocopier Using an Ethernet Cable
An Ethernet connection is one of the simplest ways to make a compatible Ricoh photocopier available to multiple computers.
Follow these steps:
Step 1: Locate the Ethernet port
Find the LAN or Ethernet port on the photocopier. Its position depends on the model.
Step 2: Connect the network cable
Insert one end of the Ethernet cable into the photocopier’s network port.
Step 3: Connect the other end
Connect the other end to your office router, network switch, or appropriate network outlet.
Step 4: Check the connection indicators
If your machine has network indicator lights, check whether they show an active connection.
Step 5: Switch on the photocopier
Allow the machine to initialise and communicate with the network.
Step 6: Check the network settings
Open the network or interface settings on the device’s control panel and locate its IPv4 address.
Ricoh’s official network installation guidance explains the Ethernet connection process and the importance of configuring network settings before installing the printer driver.
- Find the Photocopier’s IP Address
An IP address allows your computer to identify and communicate with a network-connected printer.
For example, an office printer may have an address such as:
192.168.1.120
This is only an example. Your machine will have its own address assigned by the network.
To locate it:
- Open the photocopier’s control panel.
- Navigate to the network or interface settings.
- Find the IPv4 address option.
- Record the displayed address.
- Confirm that the computer and photocopier are connected to the same accessible network.
Menu names may differ between models and firmware versions.
DHCP or static IP address?
DHCP automatically assigns an IP address through your network router or DHCP server. This is convenient for many standard office installations.
A static IP address is manually configured and remains consistent unless changed by an administrator. It can be useful when employees rely on a fixed printer address or when configuring network scanning.
If your office uses a managed network, ask the IT administrator to reserve an appropriate address rather than selecting one randomly. This helps prevent IP conflicts.
- Download and Install the Correct Ricoh Printer Driver
Once the photocopier is connected to the network, the next step is installing its compatible printer driver.
A printer driver allows your computer to communicate with the machine and access supported printing functions.
Follow this process:
- Visit the official Ricoh website.
- Open the Support or Downloads section.
- Search using the exact model number.
- Select your computer’s operating system and version.
- Download the recommended driver.
- Open the downloaded installation file.
- Follow the installation instructions.
- Choose the network connection option if prompted.
- Enter the photocopier’s IP address if required.
- Complete the installation.
Avoid downloading drivers from unknown websites. Incorrect or unofficial software can cause compatibility and security problems.
Windows installation
On Windows 10 or Windows 11, you can also try adding the network printer through the operating system:
- Open Settings.
- Select Bluetooth & devices.
- Open Printers & scanners.
- Select Add device.
- Allow Windows to search for available printers.
- If the machine is not found, select the manual-add option.
- Enter the printer’s network address or use the appropriate driver installation method.
- Complete the setup.
The available options depend on the Windows version and printer configuration. For full device functionality, use the driver recommended by Ricoh when available.
- Configure Network Printing on Multiple Office Computers
One of the biggest advantages of network printing is that multiple employees can use the same photocopier.
Once the machine is connected to the office network, repeat the driver installation process on each authorised workstation.
For each computer:
- Confirm that it can access the same office network.
- Download the correct printer driver.
- Add the printer using its network address or supported discovery method.
- Complete the installation.
- Print a test document.
For a larger office, an IT administrator can deploy the printer through a print server or another centralised printing solution.
This approach can simplify printer management, driver updates, user permissions, and troubleshooting.
- Configure Scan to Folder for Office Document Sharing
Printing is only one part of a multifunction photocopier’s capabilities. Compatible Ricoh machines can also send scanned documents to shared computer folders through supported network protocols.
This can help employees digitise invoices, contracts, forms, and other business documents.
To configure this function, you generally need to:
Step 1: Create a shared folder
On the destination computer, create a folder for receiving scanned documents.
For example:
C:\Office Scans
Step 2: Enable folder sharing
Configure the folder’s sharing permissions through your operating system.
Step 3: Check the computer’s network information
Record the computer name or IP address, shared folder name, and appropriate user credentials.
Step 4: Register the destination
Use the photocopier’s address book or destination registration settings to add the shared folder.
Step 5: Configure authentication
Enter the appropriate network username and password, following your organisation’s security policy.
Step 6: Test the scanning function
Place a document in the scanner, select the registered destination, and send a test scan.
The exact menu names and supported protocols vary by model. Ricoh’s Scan to Folder documentation provides additional instructions for compatible devices.
For security, avoid enabling anonymous folder access or using administrator credentials unnecessarily. Use an authorised account with only the permissions required for scanning.
- Can You Connect a Ricoh Photocopier to a Smartphone?
Yes, certain compatible Ricoh multifunction devices support printing from smartphones and tablets.
Ricoh offers the Smart Device Connector application for supported mobile workflows. Depending on the model, installed options, network configuration, and application compatibility, users may be able to print documents from their mobile devices.
A general setup process is:
- Check whether your photocopier supports the required mobile connection method.
- Download the compatible Ricoh mobile application.
- Connect your phone to the appropriate network.
- Follow the application’s device discovery or connection instructions.
- Select the document you want to print.
- Choose the compatible Ricoh device and submit the print job.
Some mobile functions may require optional wireless hardware or particular network settings.
It is important to understand that mobile printing and computer network installation are different processes. Ricoh Smart Device Connector is a mobile workflow solution, not a replacement for installing and configuring a desktop printer driver.
- Ricoh IM 2010 vs Ricoh IM 3010: Check the Exact Model Before Setup
Before downloading drivers or following installation instructions, check the full model name printed on the front panel or product identification label.
For example, the Ricoh IM 3010 is listed in Ricoh’s official documentation as a monochrome multifunction digital product. It should not be confused with the similarly named IM C3010, which belongs to Ricoh’s colour multifunction range.
This distinction matters because different models can require different drivers, configuration instructions, consumables, and optional accessories.
When searching for ricoh im 2010 installation information, verify that the model is listed in the official Ricoh support catalogue. If the exact model name is unclear, share a photograph of the machine’s identification label with your supplier or technician.
Never install a driver simply because its model number looks similar.
- Common Ricoh Network Connection Problems and Solutions
Even after following the installation process, you may occasionally experience connection problems.
Here are some common issues and practical checks.
Problem 1: Computer Cannot Detect the Photocopier
Possible causes:
- Ethernet cable is disconnected.
- The machine is on a different network.
- The IP address is incorrect.
- Network discovery is disabled.
What to do:
Check the cable, confirm the IP address, and ensure that the computer can access the same network.
Problem 2: Printer Shows Offline
Possible causes:
- The photocopier is switched off.
- The network connection has been interrupted.
- The printer’s IP address has changed.
- The computer is using an outdated printer port.
What to do:
Restart the printer if appropriate, check the network connection, and confirm that the installed printer port points to the current IP address.
Problem 3: Printer Driver Installation Fails
Possible causes:
- Incorrect model selection.
- Incompatible operating system.
- Incomplete driver download.
- Insufficient installation permissions.
What to do:
Download the correct software from Ricoh’s official support website and follow the installation instructions for your operating system.
Problem 4: Print Jobs Remain in the Queue
Possible causes:
- Temporary network interruption.
- Printer spooler issue.
- Incorrect printer selection.
- Machine displaying an error.
What to do:
Check the photocopier’s display, review the print queue, and verify network connectivity before sending another job.
Problem 5: Scan to Folder Is Not Working
Possible causes:
- Incorrect folder path.
- Invalid network credentials.
- Incorrect sharing permissions.
- Unsupported or blocked network protocols.
What to do:
Check the destination folder, confirm the authorised account credentials, and review firewall and SMB settings with your IT administrator.
- Network Security Tips for Office Photocopiers
A network-connected photocopier should be treated like any other device that accesses business information.
Follow these basic security practices:
- Change default administrator credentials.
- Use strong passwords.
- Keep firmware updated where supported.
- Restrict access to device administration.
- Use secure network configurations.
- Limit access to shared scanning folders.
- Avoid exposing the photocopier directly to the public internet.
- Review user permissions periodically.
Businesses that handle financial, customer, or confidential documents should pay particular attention to network security and document storage.
- When Should You Contact a Ricoh Photocopier Technician?
Basic network installation can often be completed by an office administrator or IT employee. However, professional support may be necessary when the device repeatedly disconnects, network scanning fails, optional hardware needs installation, or advanced configuration is required.
Consider contacting an experienced technician if:
- The machine does not receive a network address.
- The network interface is not functioning correctly.
- The driver cannot communicate with the device.
- Multiple computers experience printing problems.
- Scan destinations repeatedly fail.
- The photocopier requires firmware or configuration assistance.
Professional assistance can help identify the underlying issue and reduce unnecessary downtime.
Conclusion
Connecting a Ricoh multifunction photocopier to a computer or office network can make printing, scanning, and document sharing more convenient for your entire workplace. The key is to identify the correct model, establish a stable network connection, install compatible software, and configure the required features properly.
Whether you are setting up a single workstation or connecting several office computers, following the correct installation procedure can help prevent common errors and improve everyday productivity.
For businesses looking for Ricoh photocopiers, office printing equipment, installation guidance, and document management support in Qatar, NGI Qatar offers office automation solutions to help businesses manage their printing requirements.