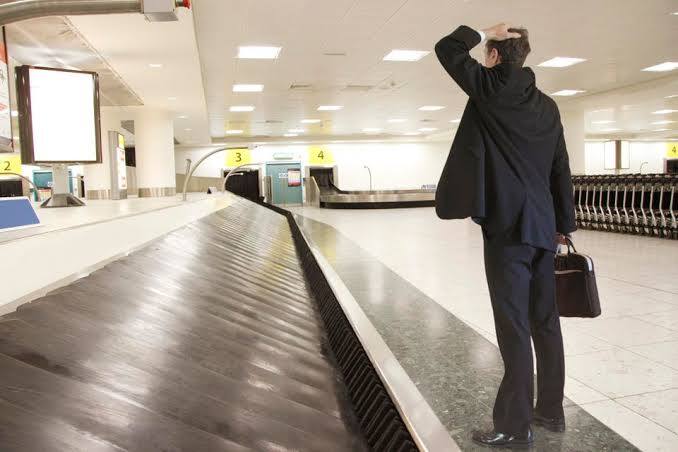
Reporting lost baggage well comes down to three phases: what you do at the airport, what you do in the days after, and what you do if the bag genuinely doesn’t turn up. Here’s the complete guide, organized that way.
Phase 1: At the Airport, Before You Leave
- Confirm your bag truly isn’t there. Check that all bags from your flight have come out, since bags occasionally arrive on a different carousel or in a later batch than expected.
- Find the airline’s baggage service desk, typically located in or near the baggage claim hall.
- File a Property Irregularity Report (PIR) — this is the formal report that gets your bag into the tracking system. Provide a detailed description: color, brand, size, and any distinguishing features.
- Get your PIR reference number and a copy of the report before leaving the desk. This is the single most important document in the entire process.
- Confirm your contact details with the airline, including where you’ll be staying, so they know where to deliver the bag once it’s found.
- Ask about interim compensation for essential items (toiletries, a change of clothes) while you wait.
Phase 2: In the Days That Follow
- Track your bag’s status using your PIR reference number, either online or by phone. Most delayed bags are found and delivered within a day or two.
- Keep all receipts for any essential purchases made while waiting, since these support a reimbursement claim for delayed baggage.
- Follow up directly with the airline if you haven’t heard anything within 3–4 days, referencing your PIR number.
- Hold onto your boarding pass and baggage claim tags throughout this entire period — don’t discard them once the bag is found, in case a dispute arises later.
Phase 3: If the Bag Doesn’t Turn Up
- Understand the timeline — a bag is generally classified as officially lost, rather than delayed, once it’s been missing for 21 days.
- Submit a written claim for lost baggage compensation, including an itemized and valued list of your bag’s contents, your PIR reference number, and your flight details.
- Know the compensation caps — 1,519 Special Drawing Rights (roughly $2,000–2,175) for international flights under the Montreal Convention, or $3,800 for U.S. domestic flights.
- Escalate if needed — if the airline denies or undervalues your claim, most countries have a formal escalation path, such as a national aviation regulator or dispute resolution scheme.
What You Need at Each Phase
- At the airport: your boarding pass, baggage claim tags, and a detailed description of your bag.
- In the following days: your PIR reference number and receipts for any essential purchases.
- If filing a formal claim: an itemized list of your bag’s contents with estimated values, plus any receipts you have for higher-value items.
The One Rule That Applies to Every Phase
Never leave the airport without reporting the bag first. This single action is what makes everything in Phase 2 and Phase 3 possible — skipping it, or waiting to report the issue later, can seriously complicate your ability to track or claim for your bag. For a complete walkthrough of how to report lost baggage, including what to do if you’ve already left the airport, further resources are available to guide you through each specific situation.
Bottom Line
Reporting lost baggage well means treating it as a three-phase process: report immediately at the airport, track and follow up actively in the days after, and file a proper written claim if the bag reaches the 21-day lost threshold. Each phase has its own specific actions, but they all build on the same foundation — the Property Irregularity Report you file before ever leaving the airport.